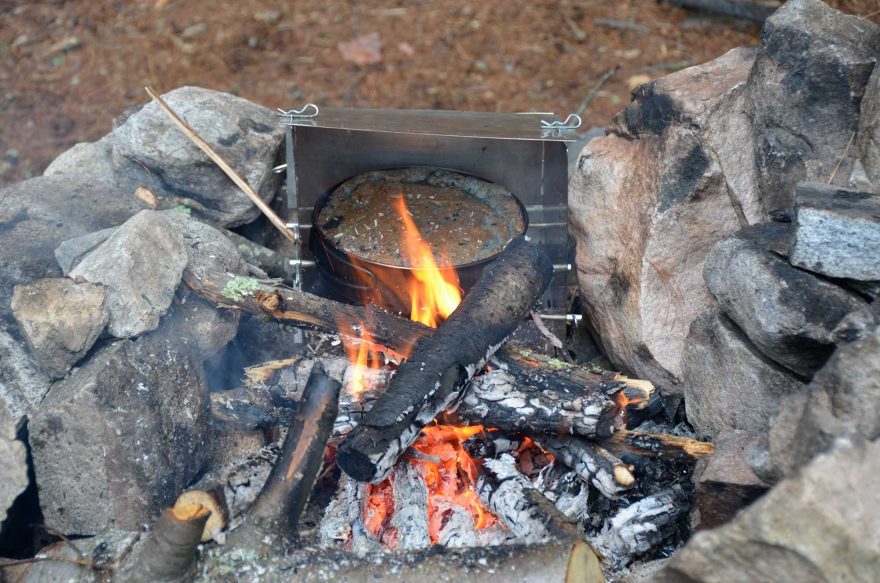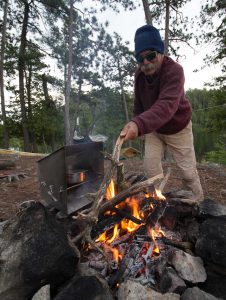
A reflector oven, usually made of aluminum, captures radiant heat and bounces or reflects it onto a surface
Sometime in the 1950s, I decided to win the Boy Scout Merit Badge for camp cooking by using a reflector oven. For reasons now lost in the mists, I did not. Yet the hankering for a reflector oven lingered on. A decade ago I scratched that itch and bought a reflector oven. Several are available for purchase and others offer instruction to make one.
I began to teach myself how to use the reflector oven in the back yard. Nancy, my late wife, came home from work one evening to hot chocolate chip cookies. She asked how I made them. I told her, “I built a fire in the back yard …” That was not a good start.

A reflector oven, usually made of aluminum, is a means of capturing radiant heat and bouncing or reflecting it onto a surface. Upper and lower panels reflect heat onto a shelf and on the shelf is what you are trying to bake. I don’t use my reflector oven in lieu of an open fire or a small stove. Yet, blueberry muffins for breakfast or brownies for dinner are a desirable addition to camping/backpacking trips. Here’s what I’ve learned.
1. Make sure the reflector oven is level and stable (these are not the same). Level means the center part of the oven is flat compared to the ground. The center part of the oven, a rack on mine, needs to be level so the dough of muffins, bread or brownies does not run to one side of the pan. If doing a beef or pork roast, level prevents one portion of the roast from cooking through earlier than the other. Stable means the oven does not rock from side to side. If necessary, prop the oven with sticks or rocks to assure the oven stays in place during the cooking. The sides of the oven need to be vertical to assure even heat.
2. Flames, not coals. For most camp cooking we rely on coals. Coals provide more even heat than more robust fire. Yet, for baking in a reflector oven you need to reach 350 or 400 degrees. Hot fire is needed. And because the reflector oven should bounce heat onto the top of the item to be cooked as well as the bottom, the flames need to be high enough to reflect heat off the top of the oven as well as the lower portion. And the fire needs to be as wide as the oven.
3. What you are cooking in the reflector oven will not cook evenly. In your home oven, heat is evenly distributed. Not so with a reflector. The back cooks first. So, you must rotate whatever is cooking. A big protective glove will work. What I do is pull the oven away from the fire, rotate what is cooking 180 degrees, and put the oven back in place. The top (as well as the bottom) of a reflector oven is at an angle to the rack where cooking is taking place. As you move the oven away from the fire, remember to keep the rack level, not the top of the oven. (Do not ask why I think this important. Simply let me say, half cooked brownies dumped in the dirt cannot be recovered.)
4. To generate the heat required to cook items through, the oven needs to be closer to the fire than you think. Closer is better — five or six inches at max.
A reflector oven will add to the gear you have to carry, no doubt. Mine breaks down flat and fits into a small bag, a flat package 11-by-11-inch and weighs just over a pound. And I usually rely on premixed items purchased at the grocery store. I bake muffins in a single pan.

Once when a travelling companion even noted, “Those aren’t muffins!” I answered, “When I cut them into quarters, they will be.” That friend also told me the blueberry muffins were the best breakfast we had.
Tim Mead is an outdoor writer with 35 years experience. His articles and photos have appeared in national, regional and state magazines. He is Past President of the Southeastern Outdoor Press Association and current President of the Outdoor Writers Association of America.
 Your Privacy Choices

