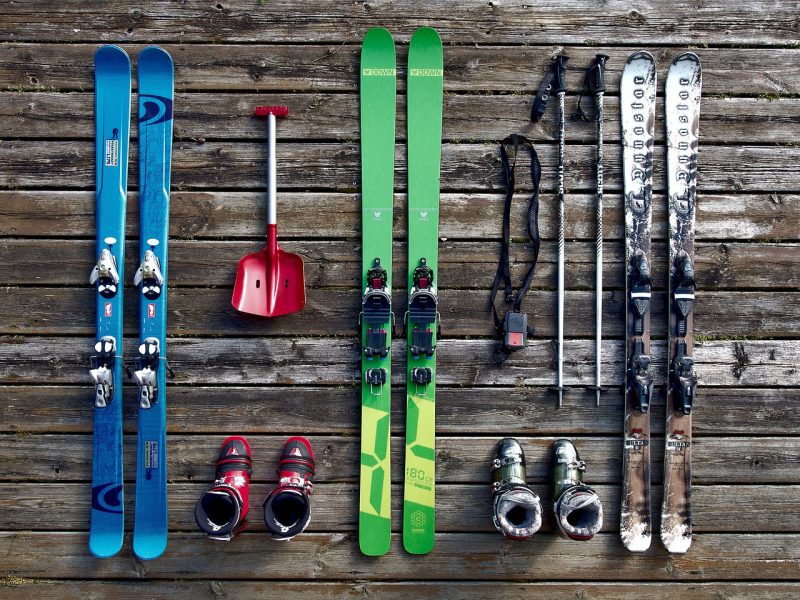
As well as improving your speed, waxing your skis will actually help your handling on turns, allowing smoother transitions and an overall better run. Without wax, your skis won’t glide over the snow as smoothly and the bottom of the skis will wear out soon enough.
If you’re a beginner, just got your first set of skis or are finally getting round to learning how to do it, here’s a necessary and useful beginner’s guide to waxing skis. You can thank us for improved performance later.
Preparing the Skis for Waxing
It’s important to clean the base of the skis properly before applying wax, otherwise, it won’t stick properly. Initially, you should retract the brakes if you have them. You can hold them in the ‘ski’ position by using a strong rubber band. If you’re going to get serious about waxing them (which we recommend you do), it’s best to use a vice to hold the skis firmly in place.
To clean the skis, you can use base cleaner or alternatively use a citrus solvent. This will help to remove and grit or dirt.
Which Wax?
If you’d prefer to keep things simple, you can opt for an all-weather wax which will certainly do the job required. For those looking to be a bit more specific, you can buy wax depending on snow temperatures. It is worth checking what kind of snow you are going to be in and opt for a wax best suited to this. If you know that the snow will be variable, then an all-weather (or all-temp) wax should suit your needs.
Ironing
As you can guess, it is better to use an iron which is intended for use on skis because the temperature will be right for the skis. Their temperatures won’t go as hot as a normal domestic iron. Most often, you should apply wax between 250F and 285F.
If you decide to use a normal clothes iron, set it on its coldest setting and be careful not to burn the base of your skis. You’ll probably want to choose an iron you don’t need for clothes the next day because it can’t be hard to get the wax off!
Here’s how best to iron:
- Hold the bar of wax to the iron and move it along the ski, allowing the wax to drip along
- A narrow ski can get away with one pass, but wider skis might need two
- Gently run the iron over the skis in order to melt the wax and spread it out
- Try to cover the whole ski base and keep iron moving all the time
- Let the wax cool and dry out once applied – this could take half and hour to an hour
Scraping
You should aim to scrape the wax off the ski thinly so that only a sheen is visible. Rather than the wax sitting on the ski, it should be in the base and all of its cracks, dents, and crevices. A plastic scraper will be easiest to use and scrape from the tip to the tail.
Brush the Skis
With a nylon brush, scrape the wax until you can begin to see the ski’s texture. By doing so, you will be creating a much smoother ride for yourself. Using short strokes, again go from tip to tail until it looks lovely and glossy.
 Your Privacy Choices